


Bekannt aus


Black Glass Artikel
-
Sushi Set - Servierplatte
 Sushi Set - Servierplatte
- Regulärer Preis
-
€498,00 - Regulärer Preis
-
- Verkaufspreis
-
€498,00
-
Kaviar Set - Kaviar Schale
 Kaviar Set - Kaviar Schale
- Regulärer Preis
-
€248,00 - Regulärer Preis
-
- Verkaufspreis
-
€248,00


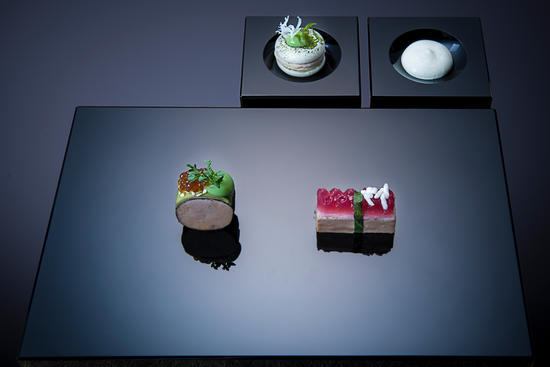
puristisch. zeitlos. elegant.
Objekte für die exklusive Tischkultur!

Premium Qualität - Handgefertigt
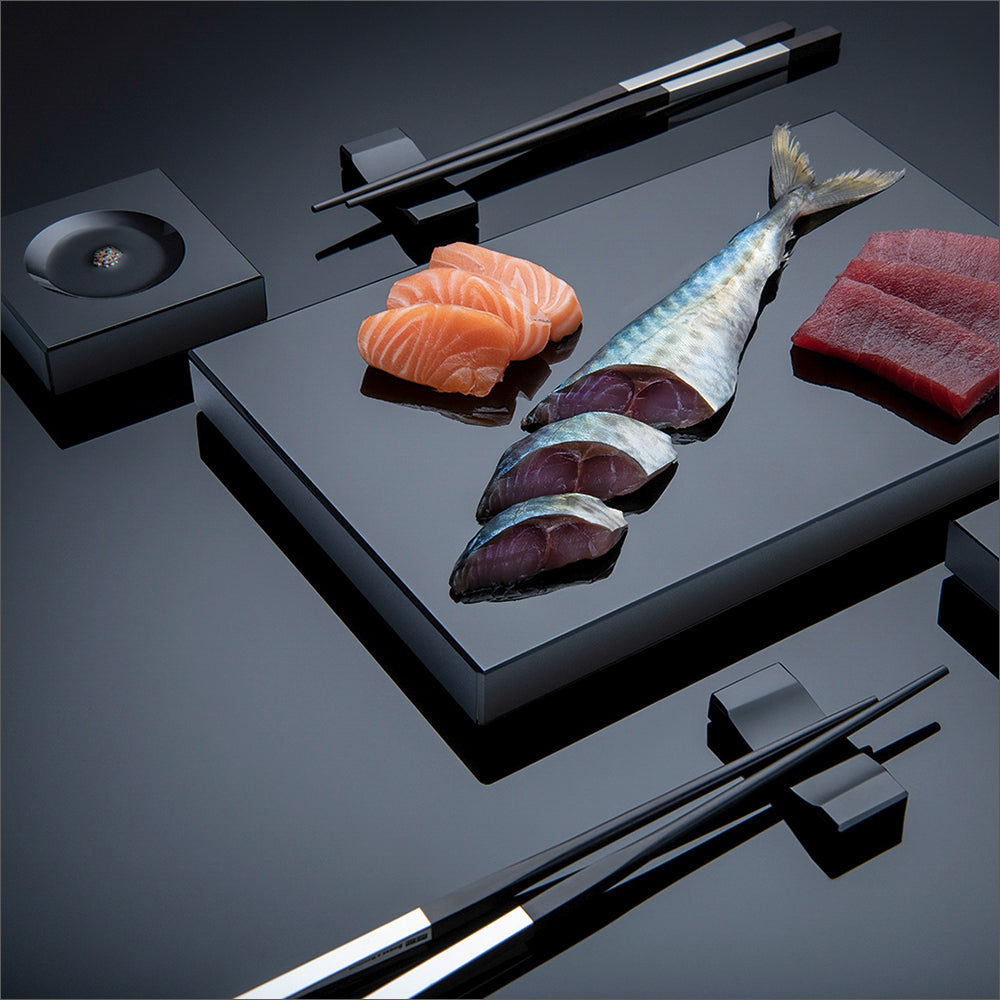
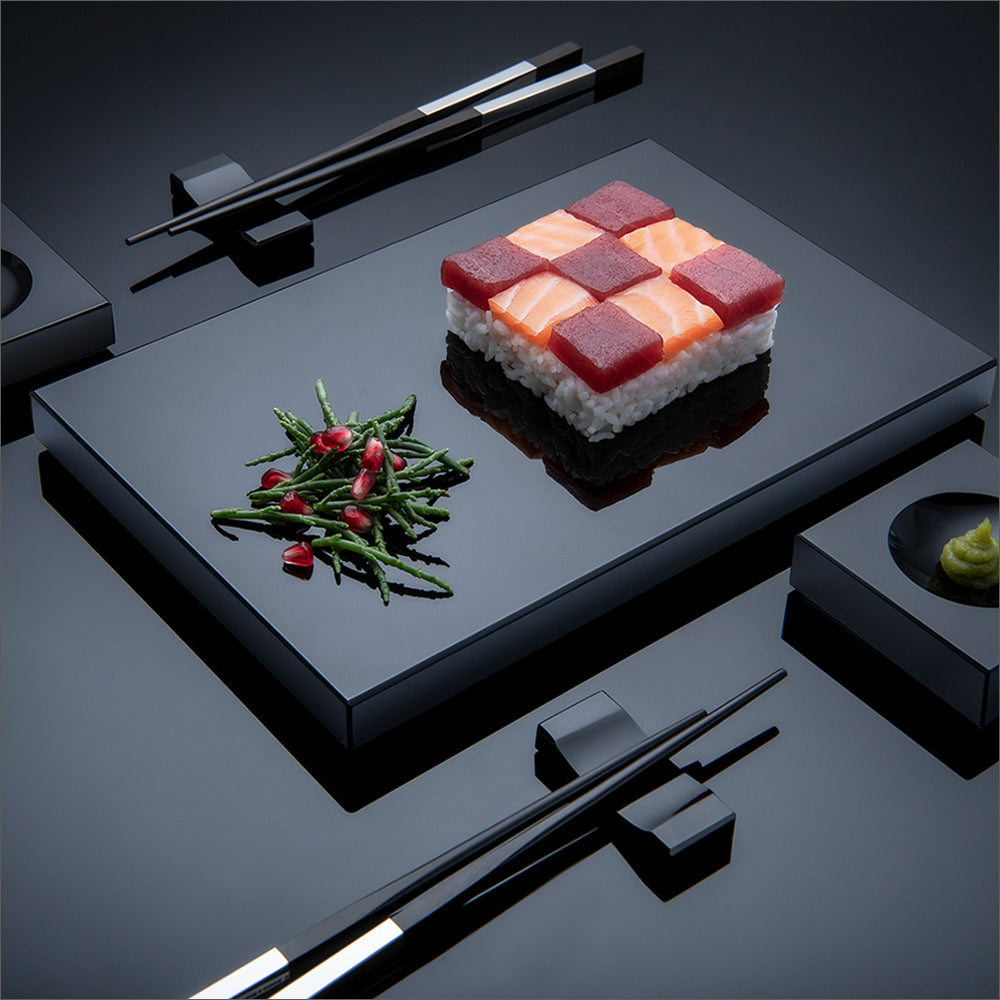
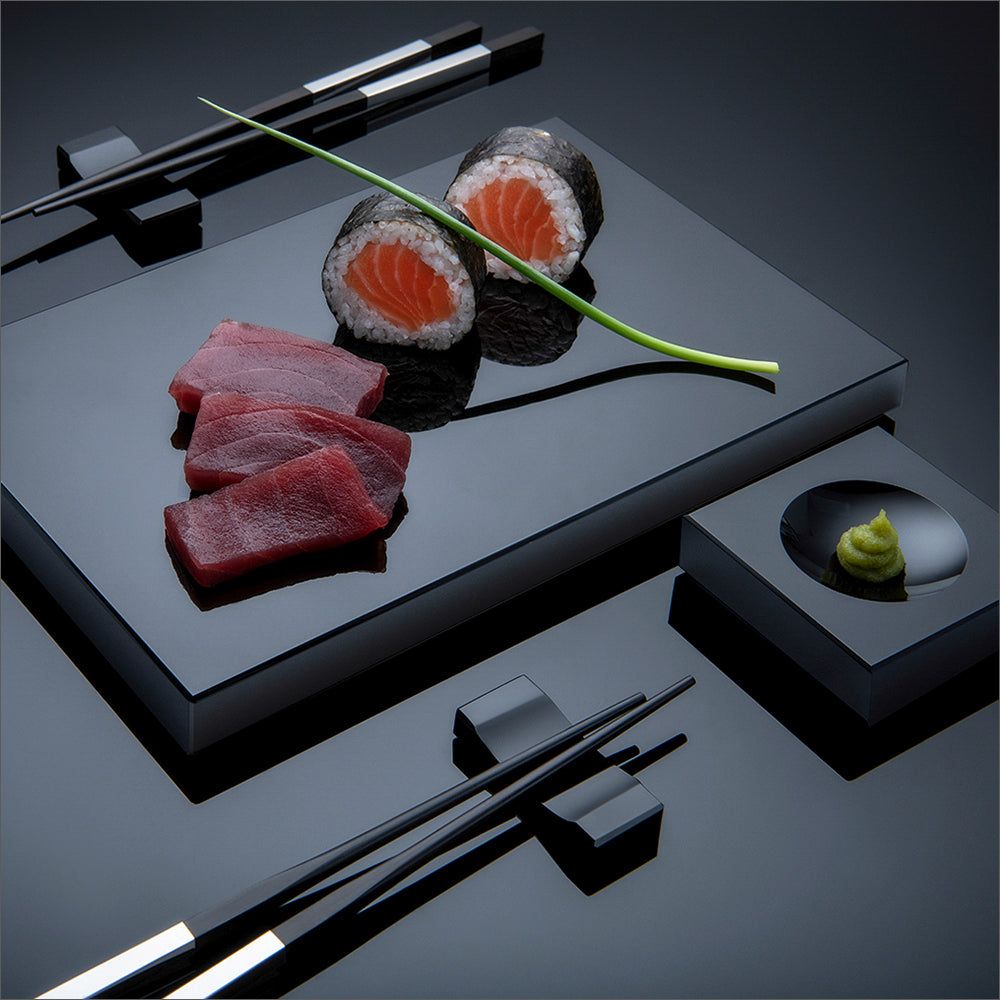
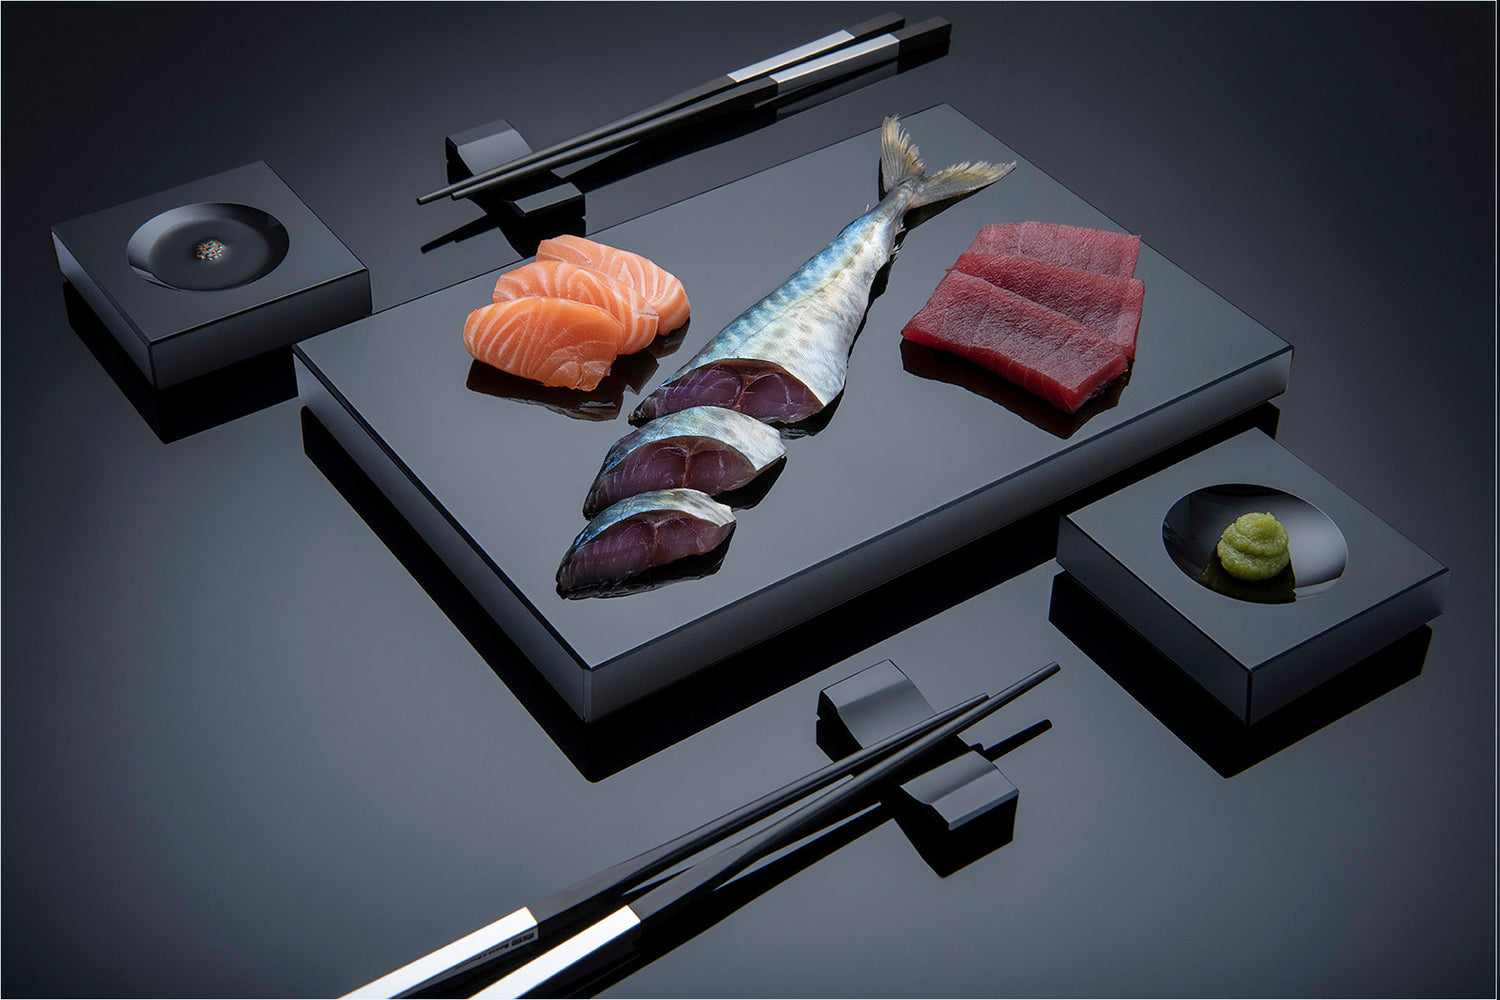
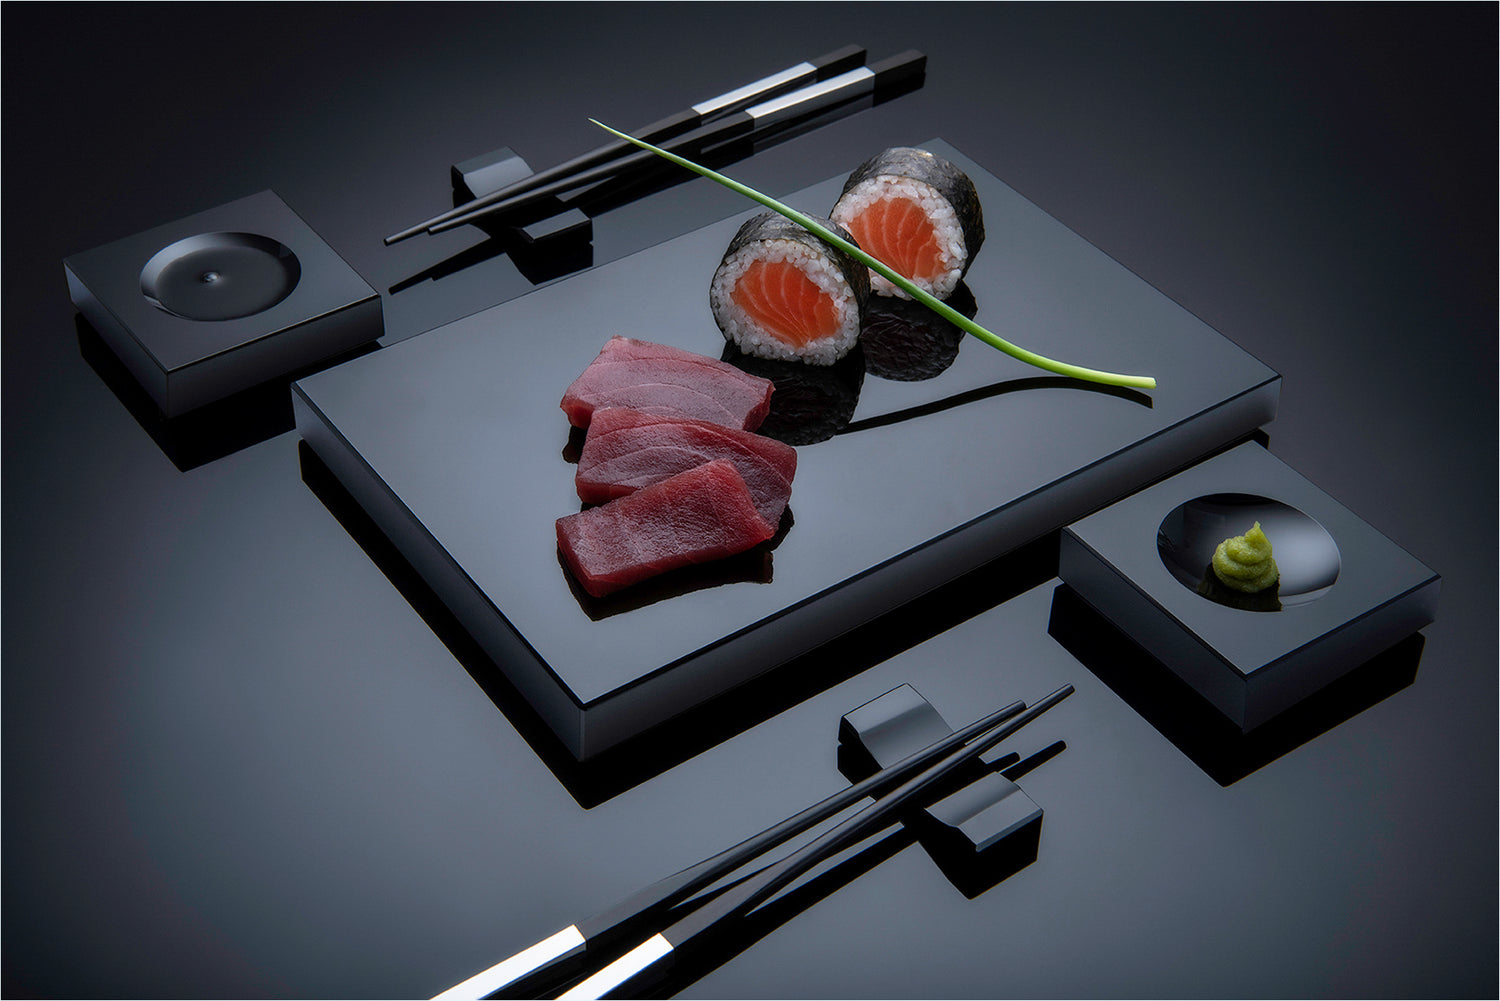
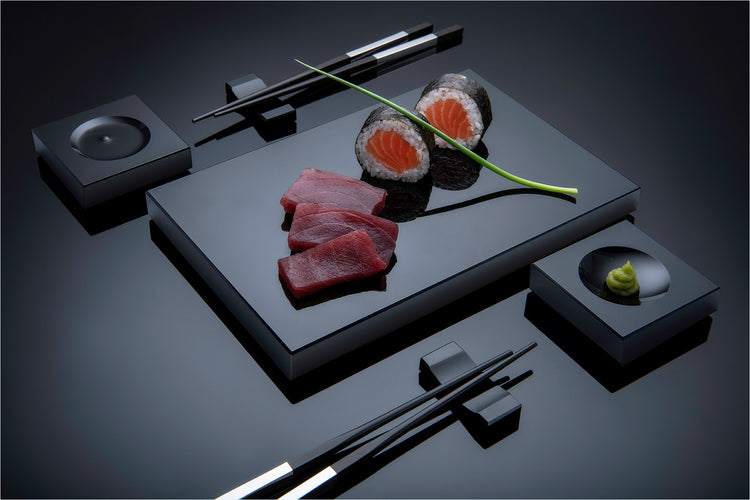
Sushi Set
Jede Sushi Platte wird in Handarbeit aus sortenreinem Schwarzglas, einem kostbaren, seltenem Material geschliffen und eignet sich hervorragend zum stilvollen Servieren von Sushi und Sashimi sowie für Variationen moderner "Fusion Kitchen".


Sushi Set - Servierplatte
- Regulärer Preis
-
€498,00 - Regulärer Preis
-
- Verkaufspreis
-
€498,00


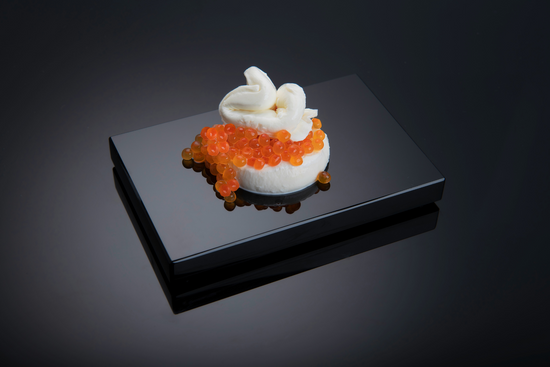
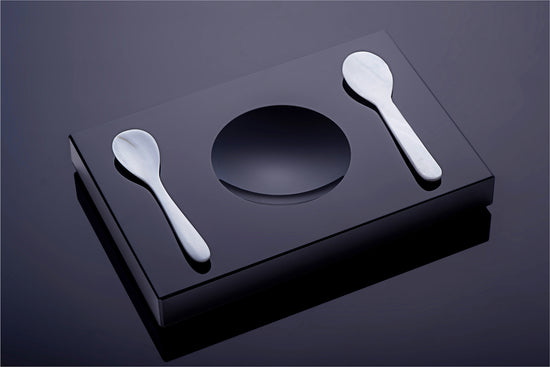
Premium Qualität - Handgefertigt
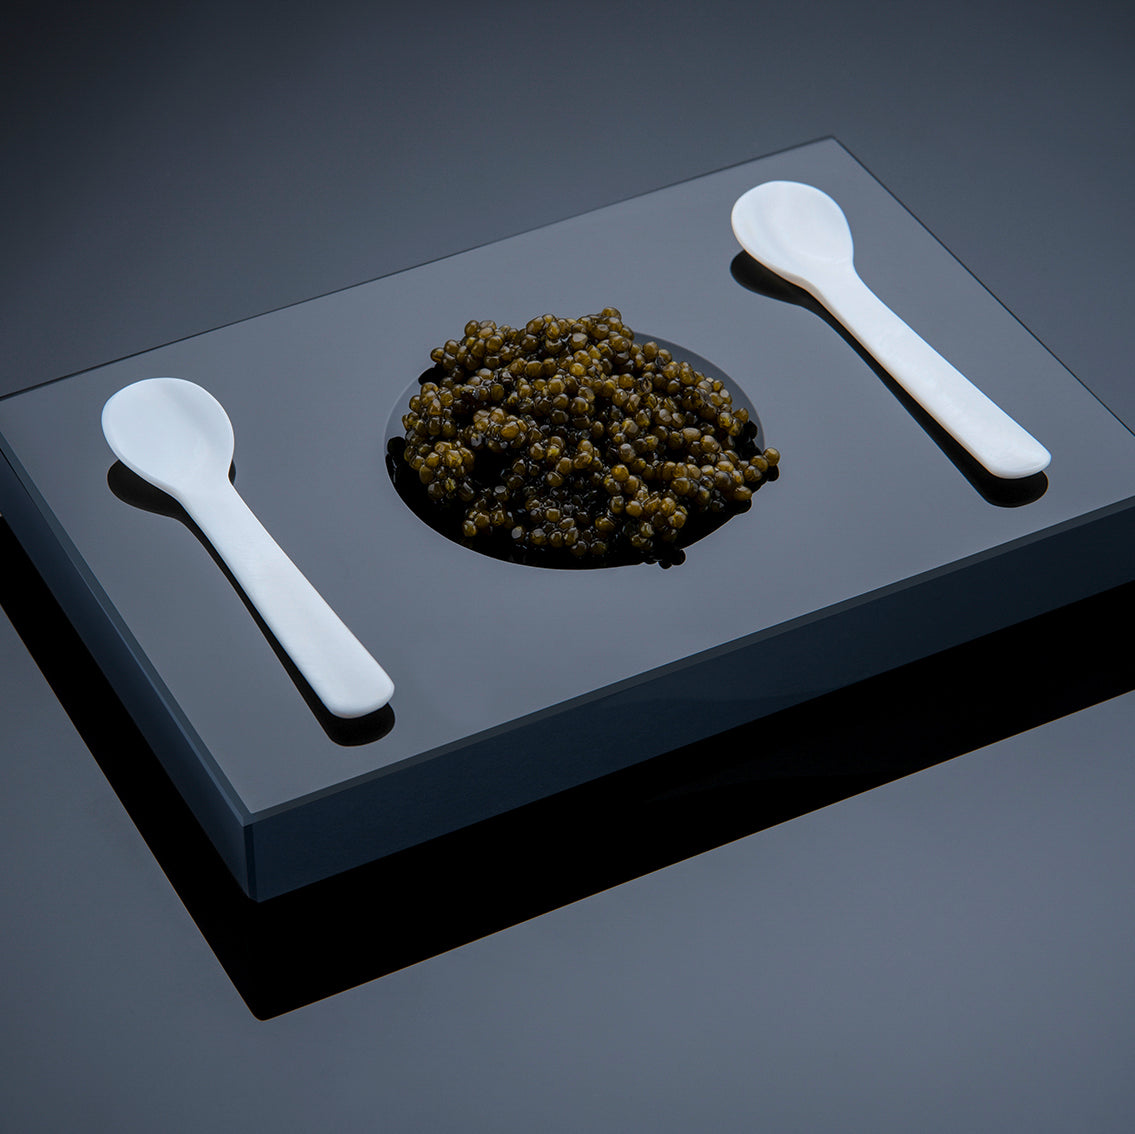
Kaviar Set
Kaviar Schale, handgefertigt aus echtem, sortenreinem Schwarzglas, inkl. zwei Perlmutt-Kaviarlöffeln, in hochwertiger Geschenkbox. Schwarzglas, absolut porenfrei mit hygienisch glatter Oberfläche, hält lange seinen gekühlten Zustand.
Design Stifteschale


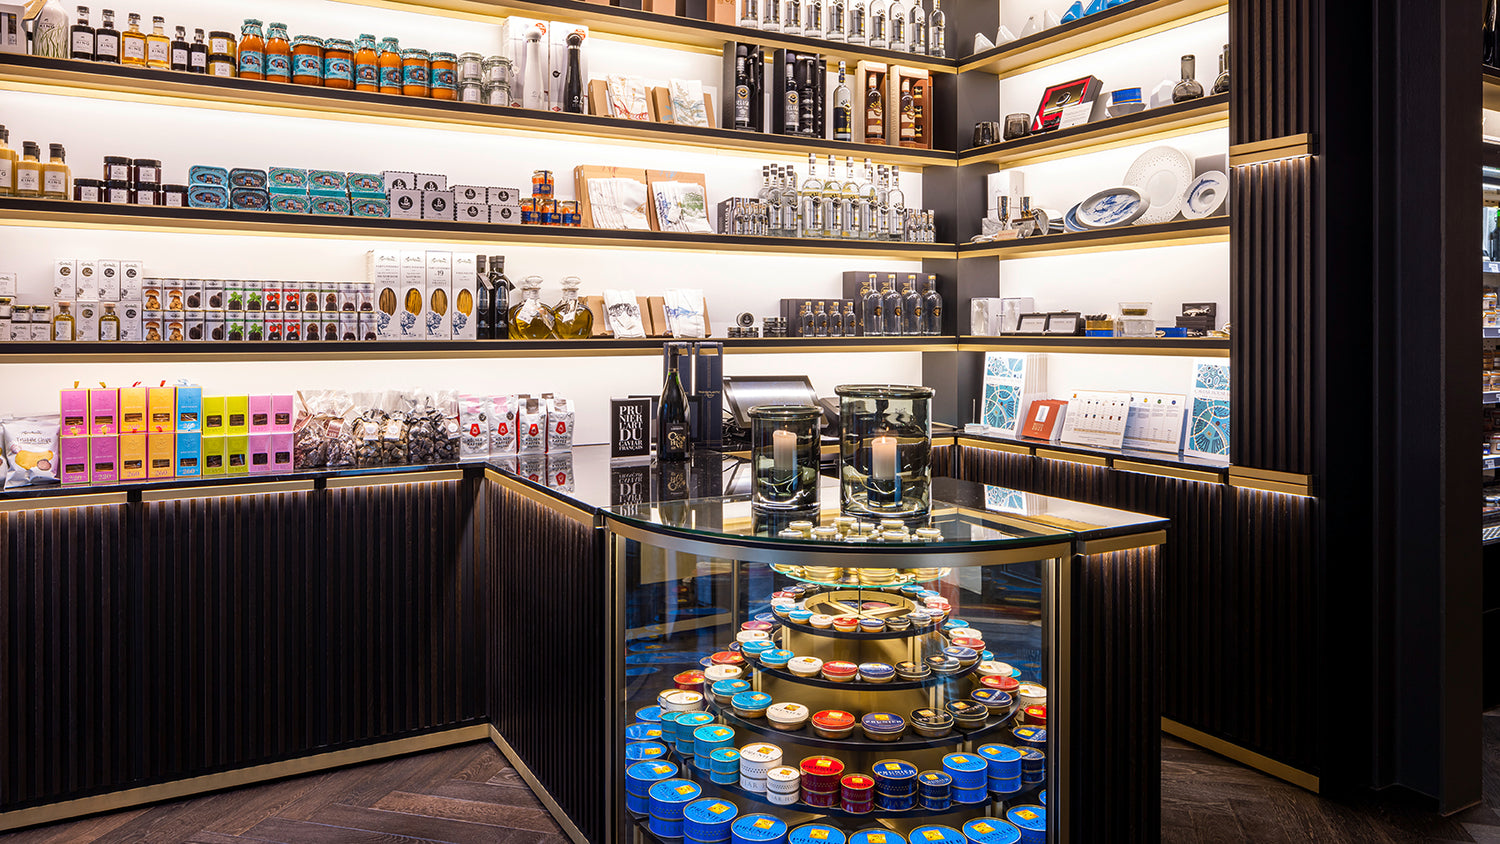
1. Kaviarhaus & Prunier (Köln, Deutschland)
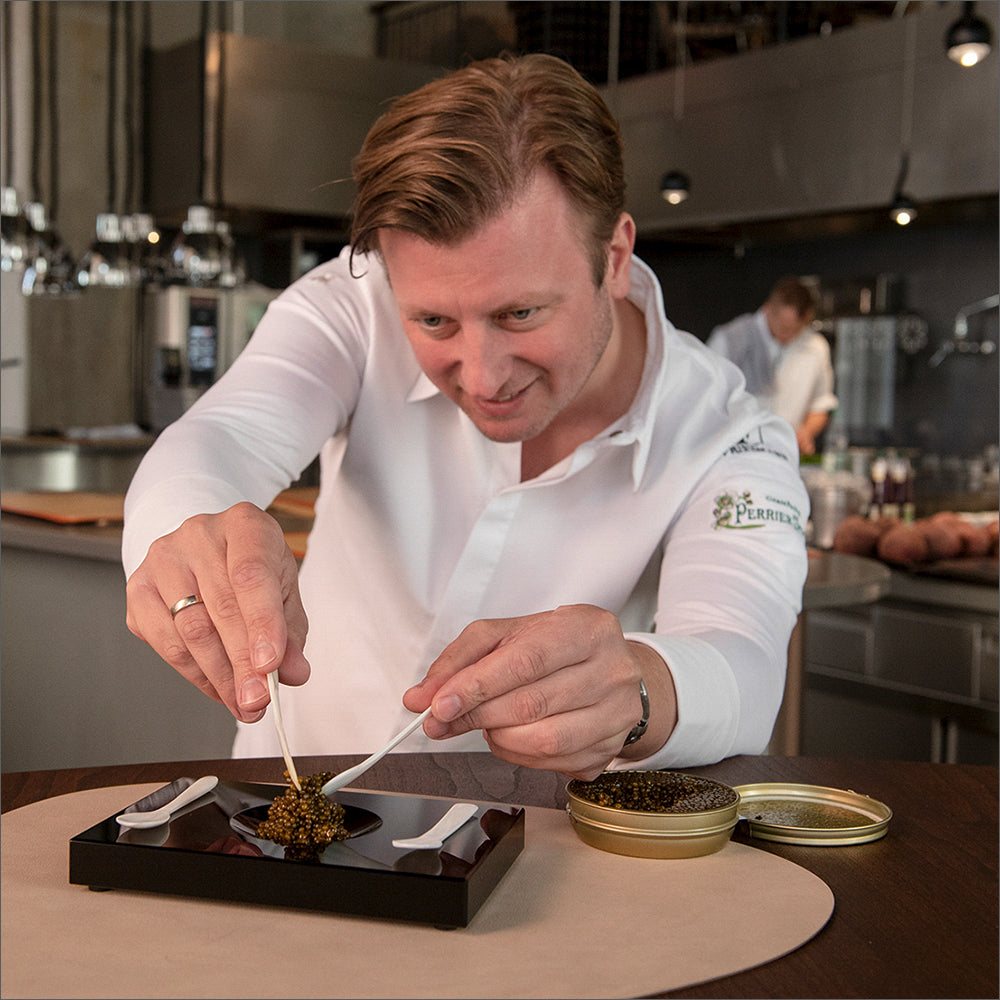
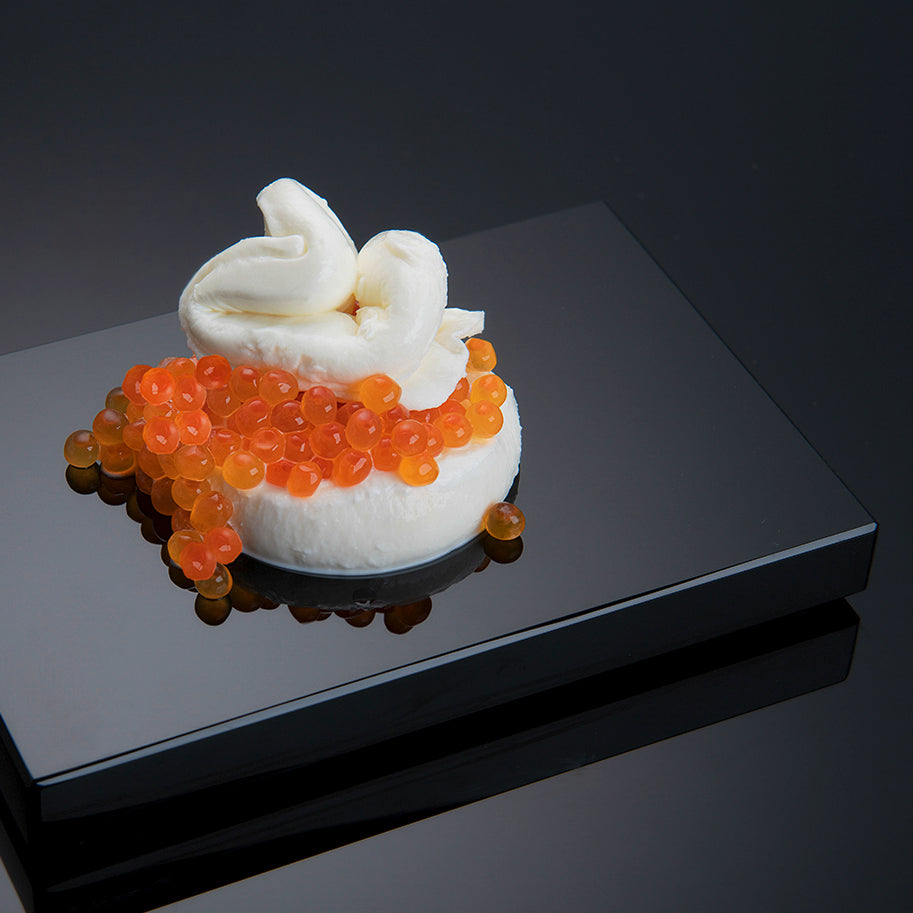
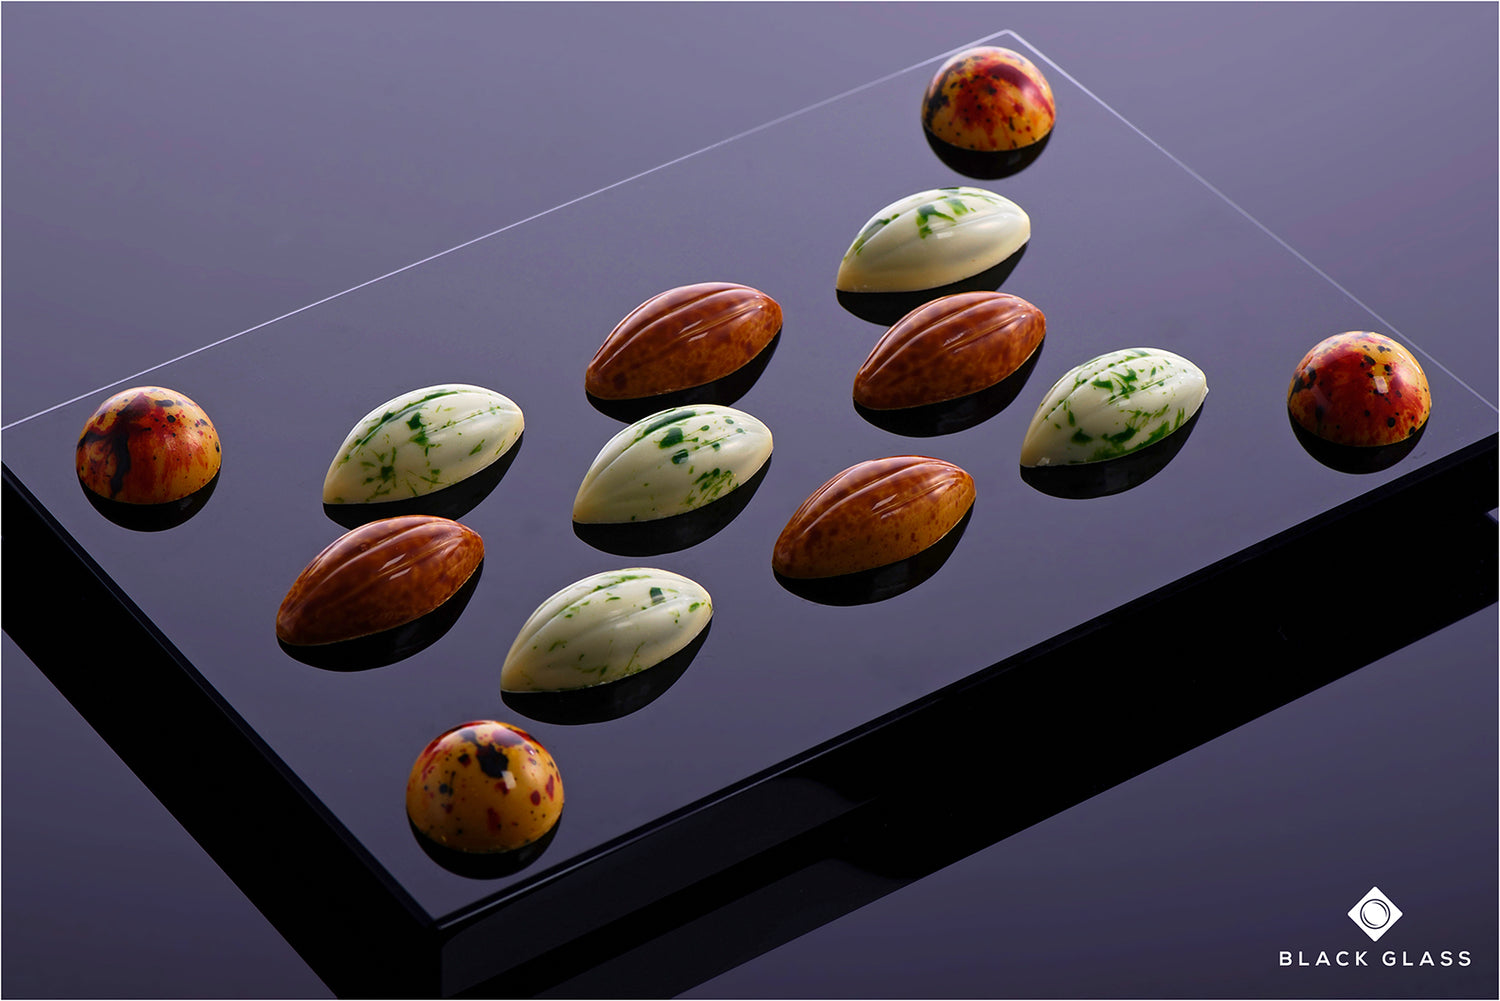
2. Christian Hümbs - Pralinen
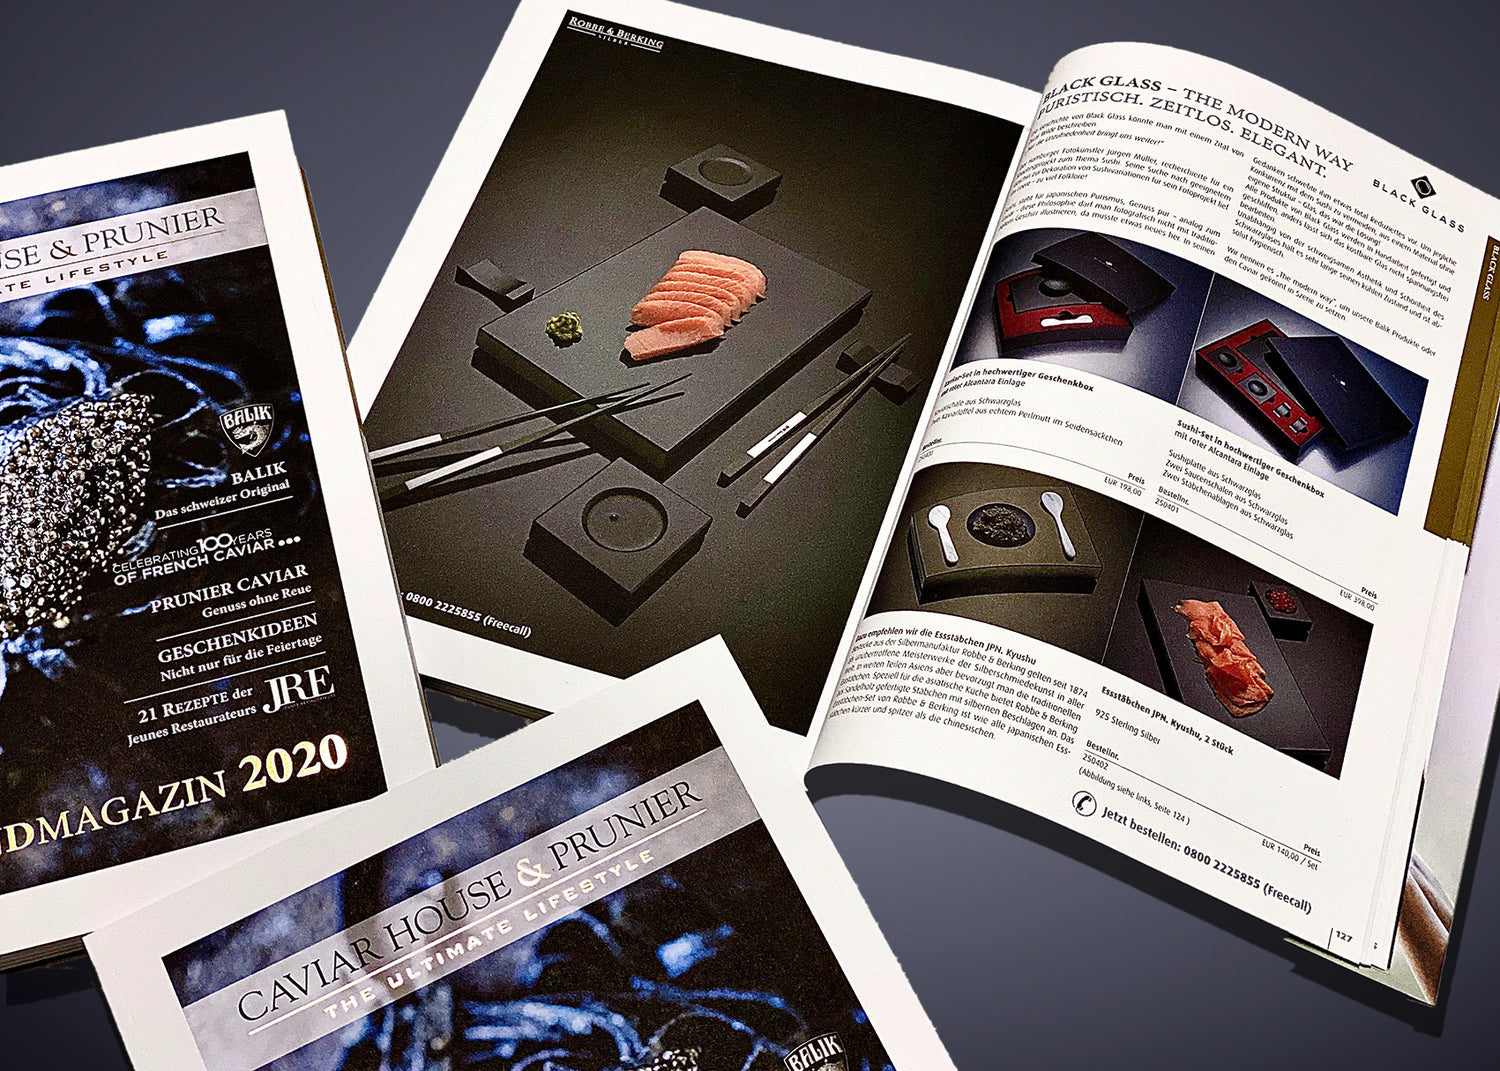
3. "Caviarhouse Prunier" Magazine
4. "Feel Good" Magazine
Das weltberühmte "Caviar House & Prunier" verwöhnt Sie mit erstklassigem Kaviar aus eigener Zucht!
Christian Hümbs ist ein deutscher Pâtissier. Er wurde mehrfach als Pâtissier des Jahres ausgezeichnet und arbeitet seit 2019 als Chef-Pâtissier im 5-Sterne-Hotel "Dolder Grand" in Zürich. Christian Hümbs ist auch bekannt aus der TV-Sendung „Das große Backen“, in der er als Juror tätig ist.
Wir sind stolz auf unsere Zusammenarbeit mit dem berühmten und traditionsreichen Caviarhouse Prunier. Ein wunderbarer, gelungener Katalog.
Das exklusive Lifestyle Magazin präsentiert seinen Lesern das Sushi-Set und das Kaviar-Set von Black Glass, vielen Dank!

Die Geschichte des Sushis
Die Geschichte des Sushi ist eine faszinierende Reise durch Jahrhunderte japanischer Kultur, kulinarischer Innovation und globaler Einflüsse. Von seinen bescheidenen Anfängen als einfache Konservierungsmethode bis hin zu seinem heutigen Status als weltweit beliebtes Delikatessen ist die Entwicklung des Sushi eine Geschichte voller interessanter Wendungen und kultureller Einflüsse.
